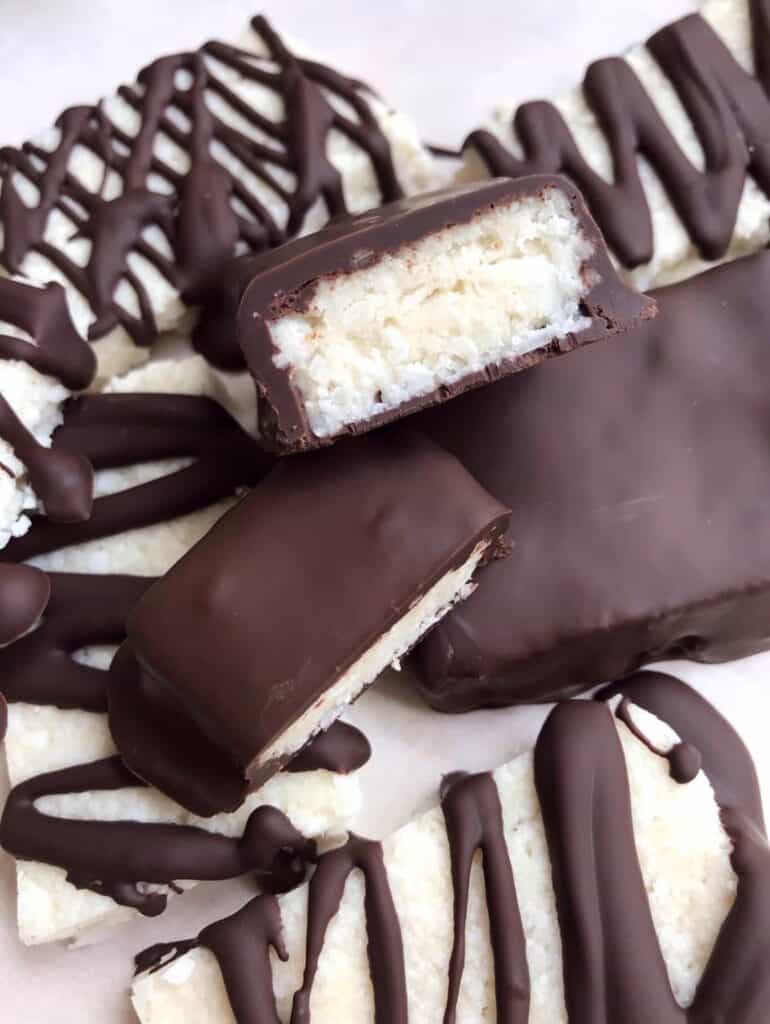
Healthy Homemade Mounds Bars are an upgraded twist on a classic candy favorite! This simple recipe tastes even better than the original.

Coconut has always been one of my very favorite flavors. From sweet to savory dishes, coconut lends that fun, tropical, unmistakable flavor to a variety of cuisines. When we're talking candy, Mounds bars are at the top of my list! It's near impossible to beat that sweet, chewy, coconutty filling all wrapped up in creamy chocolate. So simple yet SO incredibly delicious. These Healthy Homemade Mounds Bars are reminiscent of that childhood classic (arguably, way better) and made with ingredients you can feel good about indulging in. We think you'll agree, this homemade version takes the cake.
RECIPE TIPS
Coconut Types. We've found that unsweetened coconut flakes works best for this recipe. Pre-sweetened coconut tends to be too overpowering, especially once chocolate is added on. For a tasty twist, you can replace ⅓ of the coconut with toasted coconut flakes. Adds a little crunch and that toasty flavor.

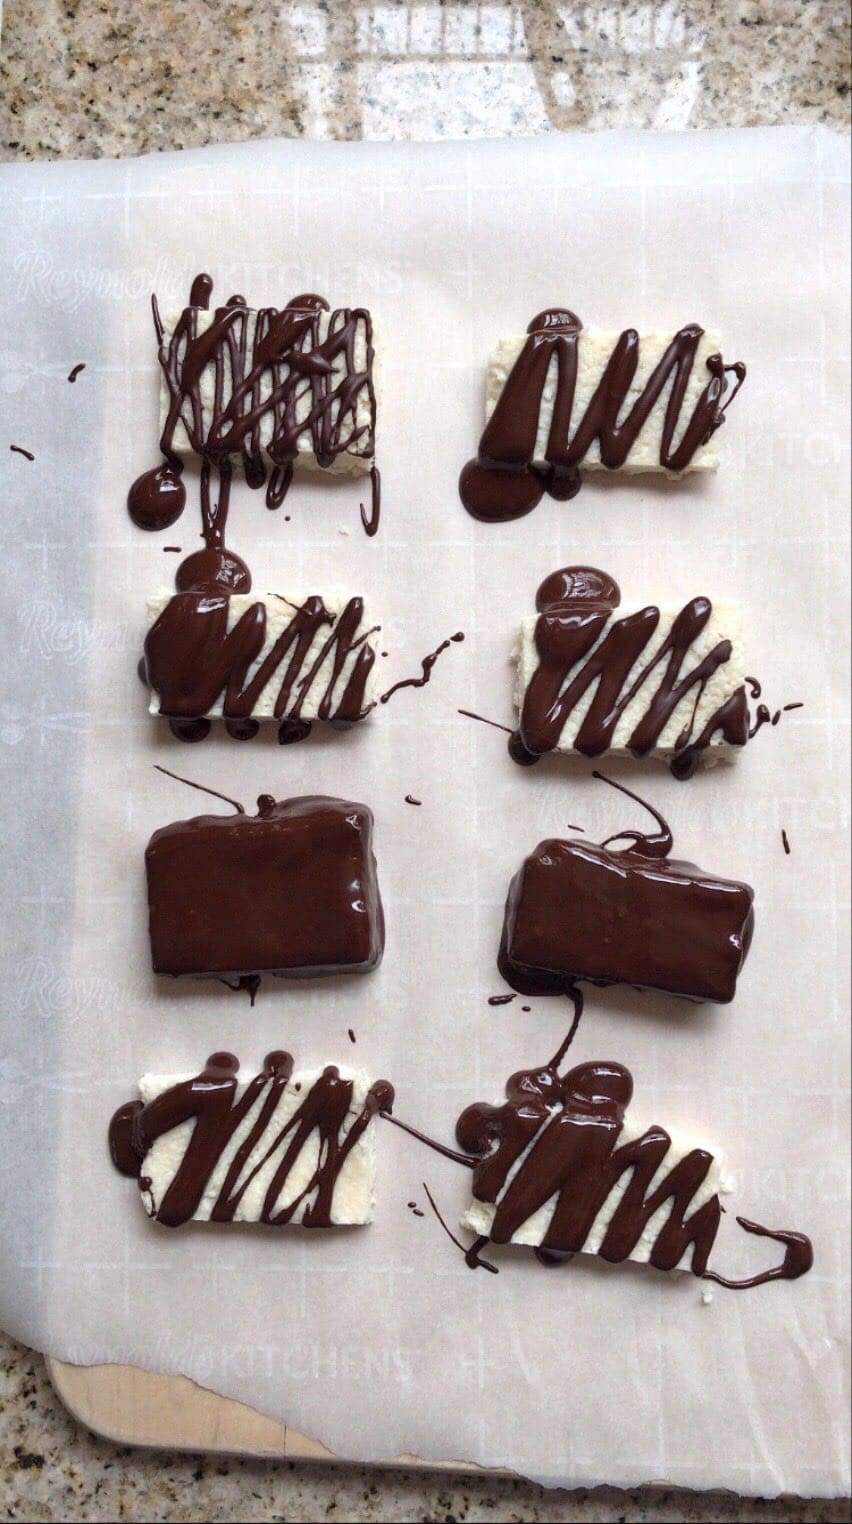
Chocolate. Classic Mounds bars use milk chocolate but we opted for dark. Truthfully, either works well so we say pick your favorite! For a fun, kid-friendly twist, you can use white chocolate and food coloring to really shake things up! The same goes for a chocolate drizzle versus the full dunk. We've made them countless times both ways and still can't pick a favorite.

Coconut Oil. While this may seem like a ridiculous thing to say on a recipe featuring coconut, there are two primary types of coconut oil to choose between. Unrefined (virgin) coconut oil has that classic, bright, tropical coconut scent and aroma. It also has a light yellow or sometimes ivory shade. On the other hand, refined coconut oil is practically void of any distinguishable scent or flavor and tends to be clear or brighter white if solid. Either oil works perfectly well for this recipe, so it really comes down to personal preference. If you can't get enough coconut flavor, the unrefined oil is for you! If you desire "just enough" coconut, refined is the way to go.
Time to Chill. When you've mixed your coconut filling together, we recommend chilling in the fridge, not the freezer. Over hardened filling can crack more easily than lightly chilled. If you are in a time crunch, we recommend popping your mixture into the freezer and allowing it a few minutes at room temperature before slicing, to decrease the chance of cracking.

FREQUENTLY ASKED QUESTIONS
Do these bars freeze?
Yes! These bars freeze extremely well (for up to 2-3 months) without any loss of taste or texture. We recommend removing them from the freezer at least 1 hour prior to enjoying.
Can I use another sweetener in place of maple syrup?
Other liquid sweeteners can be substituted in place of maple syrup with some differences in flavor. Honey and date syrup both lend very distinct flavors that take away from that classic "mounds" bar flavor. Our second pick in place of maple would be agave syrup, which has a very mild, almost nonexistent flavor that won't affect the overall end product.
Help! My filling isn't "sticking"!
A semi-sticky filling is essential for creating your bars. The filling should be tacky enough that it sticks together when firmly pressed. Add additional oil and syrup, in ½ teaspoon increments, as needed, until mixture holds. When adding filling to your pan, ensure mixture is pressed down very firmly so it can "set" into shape. If needed, use a can or the back of a spoon to roll or press the bars into form.
My chocolate shell is too thick!
For a thinner dipping chocolate, add coconut oil, in ½ teaspoon increments, until you reach desired consistency. Coconut oil will thin your chocolate and help the "shell" set more quickly.
Healthy Homemade Mounds Bars
Ingredients
- 3 cups unsweetened coconut flakes
- 3 tablespoon unrefined coconut oil
- 3 tablespoon maple syrup
- 1 ½ teaspoon vanilla extract
- ⅛ teaspoon salt
- 1 cup chocolate chips for melting
Instructions
- To a food processor, add coconut flakes, coconut oil, maple syrup, vanilla, and salt. Process on low for 30-45 seconds, or until mixture is well combined and beginning to become slightly tacky. You want your mixture to be sticky enough to press and hold together.
- Pour mixture into a lightly oiled or parchment-lined bread pan or baking dish*, pressing down firmly until evenly distributed. Place in the refrigerator for 20-30 minutes, or until "set".
- Using a firm spatula, gently remove coconut mixture from pan and slice into "bars" or mini bites.
- Melt chocolate in a microwave safe dish, in 10-15 second intervals, until melted. Drizzle or dunk bars with chocolate and place back into the fridge until chocolate sets.


I am in Mr. Compston's class, and he told us to check out your website. I tried these, and I loved them. I am a huge fan of Almond Joys, and this is such a fantastic alternative for when I'm craving something sweet!
I would love to make this! I come from a big family who loves these so much that we have difficulty finding them! So anytime we are out of the country we make it our mission to get them as a little treat. I go home for fall break in a week and plan to make these because they are a stable in my family I am so happy to have found this recipe! It brings so many memories up for me that I can not wait to share!
I am a huge fan of the 'sweet treat reward system' when it comes to doing daunting or challenging tasks and always on the look for "healthier" alternatives. This looks like an amazing option to add into the rotation!
Such a good summer recipe! A chocolate fix with no oven included!
Hi Monica, SO happy to hear you enjoyed the recipe! We are also big fans of anything chocolate and no-bake!
Next time I will make "bites" instead of "bars"---they are very, very rich. I made small bars, but bite size will definitely be better for me. They are delicious!!
I followed the directions exactly. The coconut mixture is too crumbly to hold together into bars. I may need to add more oil perhaps. And the melted chocolate is too thick to evenly coat. I'll have to experiment with something to add to it to thin it out and help make it easier to coat the bars. It was a complete mess, but tasted good. That's the reason for the 3 stars.
Hi Annie, so sorry to hear the bars didn't turn out as expected! A few tips that may help:
-For a "stickier" coconut mixture, additional oil and/or maple syrup (starting in 1/2 tsp increments) may be helpful. If you're working with larger coconut flakes, they may take some extra pulsing in the food processor. This allows the mixture to blend more thoroughly and evenly coat all pieces. As the flakes grind down they will also release some natural oil which can help build a "sticky" consistency as well.
-For a thinner chocolate, you can add several tsp of coconut oil when melting. The oil will help thin your chocolate to desired consistency.
We thank you for your honest feedback and hope you have better success next time!
I measured exact, but the maple syrup change the color of the coconut filling to a beige color instead of a white filling. What can I do to fix that?
Hi Rhonda, the color might be coming mostly from the vanilla extract. You can omit altogether or opt for a clear vanilla if a brighter white filling is desired!
When Kevin heard about these he said "Homemade Mounds Bars sound GREAT!!" We both LOVE Mounds bars. Because the ingredients are natural, you don't have all the preservatives like the store bought candy does. And Kevin says "for that reason you won't get that acidy taste in your mouth when you eat them...." I cannot wait to try these, they look delicious!!
Joyce, we are so happy to hear you both were excited to see this! We hope it does not disappoint!
I’ve always loved Mounds and Almond Joy bars. These are just as good if not better - no they are better - because I can use healthier ingredients! Such a great idea for gift giving too.
So glad to hear you enjoyed them! And love the idea of gifting them!
Currently drooling
Thank you so much!!!
These are incredible!! I’ve been so into chocolate and coconut bars lately I’ll have to make some homemade !
Thank you so much! We hope you'll enjoy them!
These look absolutely beautiful! Must. Try. Immediately!
Thank you so much Erica! We hope you love them!!!